Though I took a 10 month blog break, our house updates have been going nonstop! We have done so much to this place, but one of the biggest projects since my last post has been the remodel of our guest bathroom and master vanity area. Fortunately and unfortunately, the bathrooms were not that bad when we bought this place. Fortunately, because we didn’t have it in the budget to remodel them right away, and unfortunately because they were okay enough to live with, but ugly enough to make me sad every time I went into one of them.
Since we spend the most time in the guest bathroom bathing kids, we decided to tear into that one first. Before we proceed, let me remind you how semi-ugly the bathroom was.
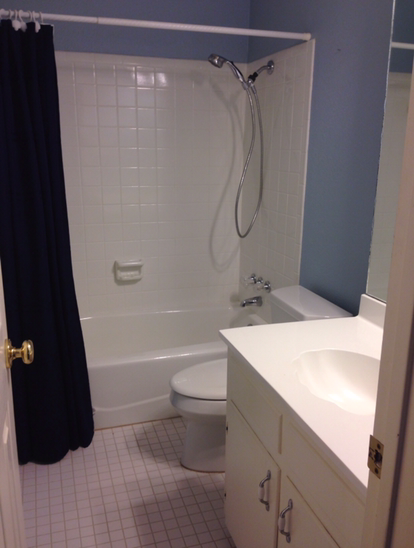

I know, it’s not that bad, but the pictures hide the really bad parts. The “white” shower tile and tub are not really white. They started out yellow and had been painted white at some point over the last 40 years (thank goodness). The paint looked fine until it all started chipping off, revealing the ugliness beneath. At last, we decided to tear this ugly thing apart and start fresh.
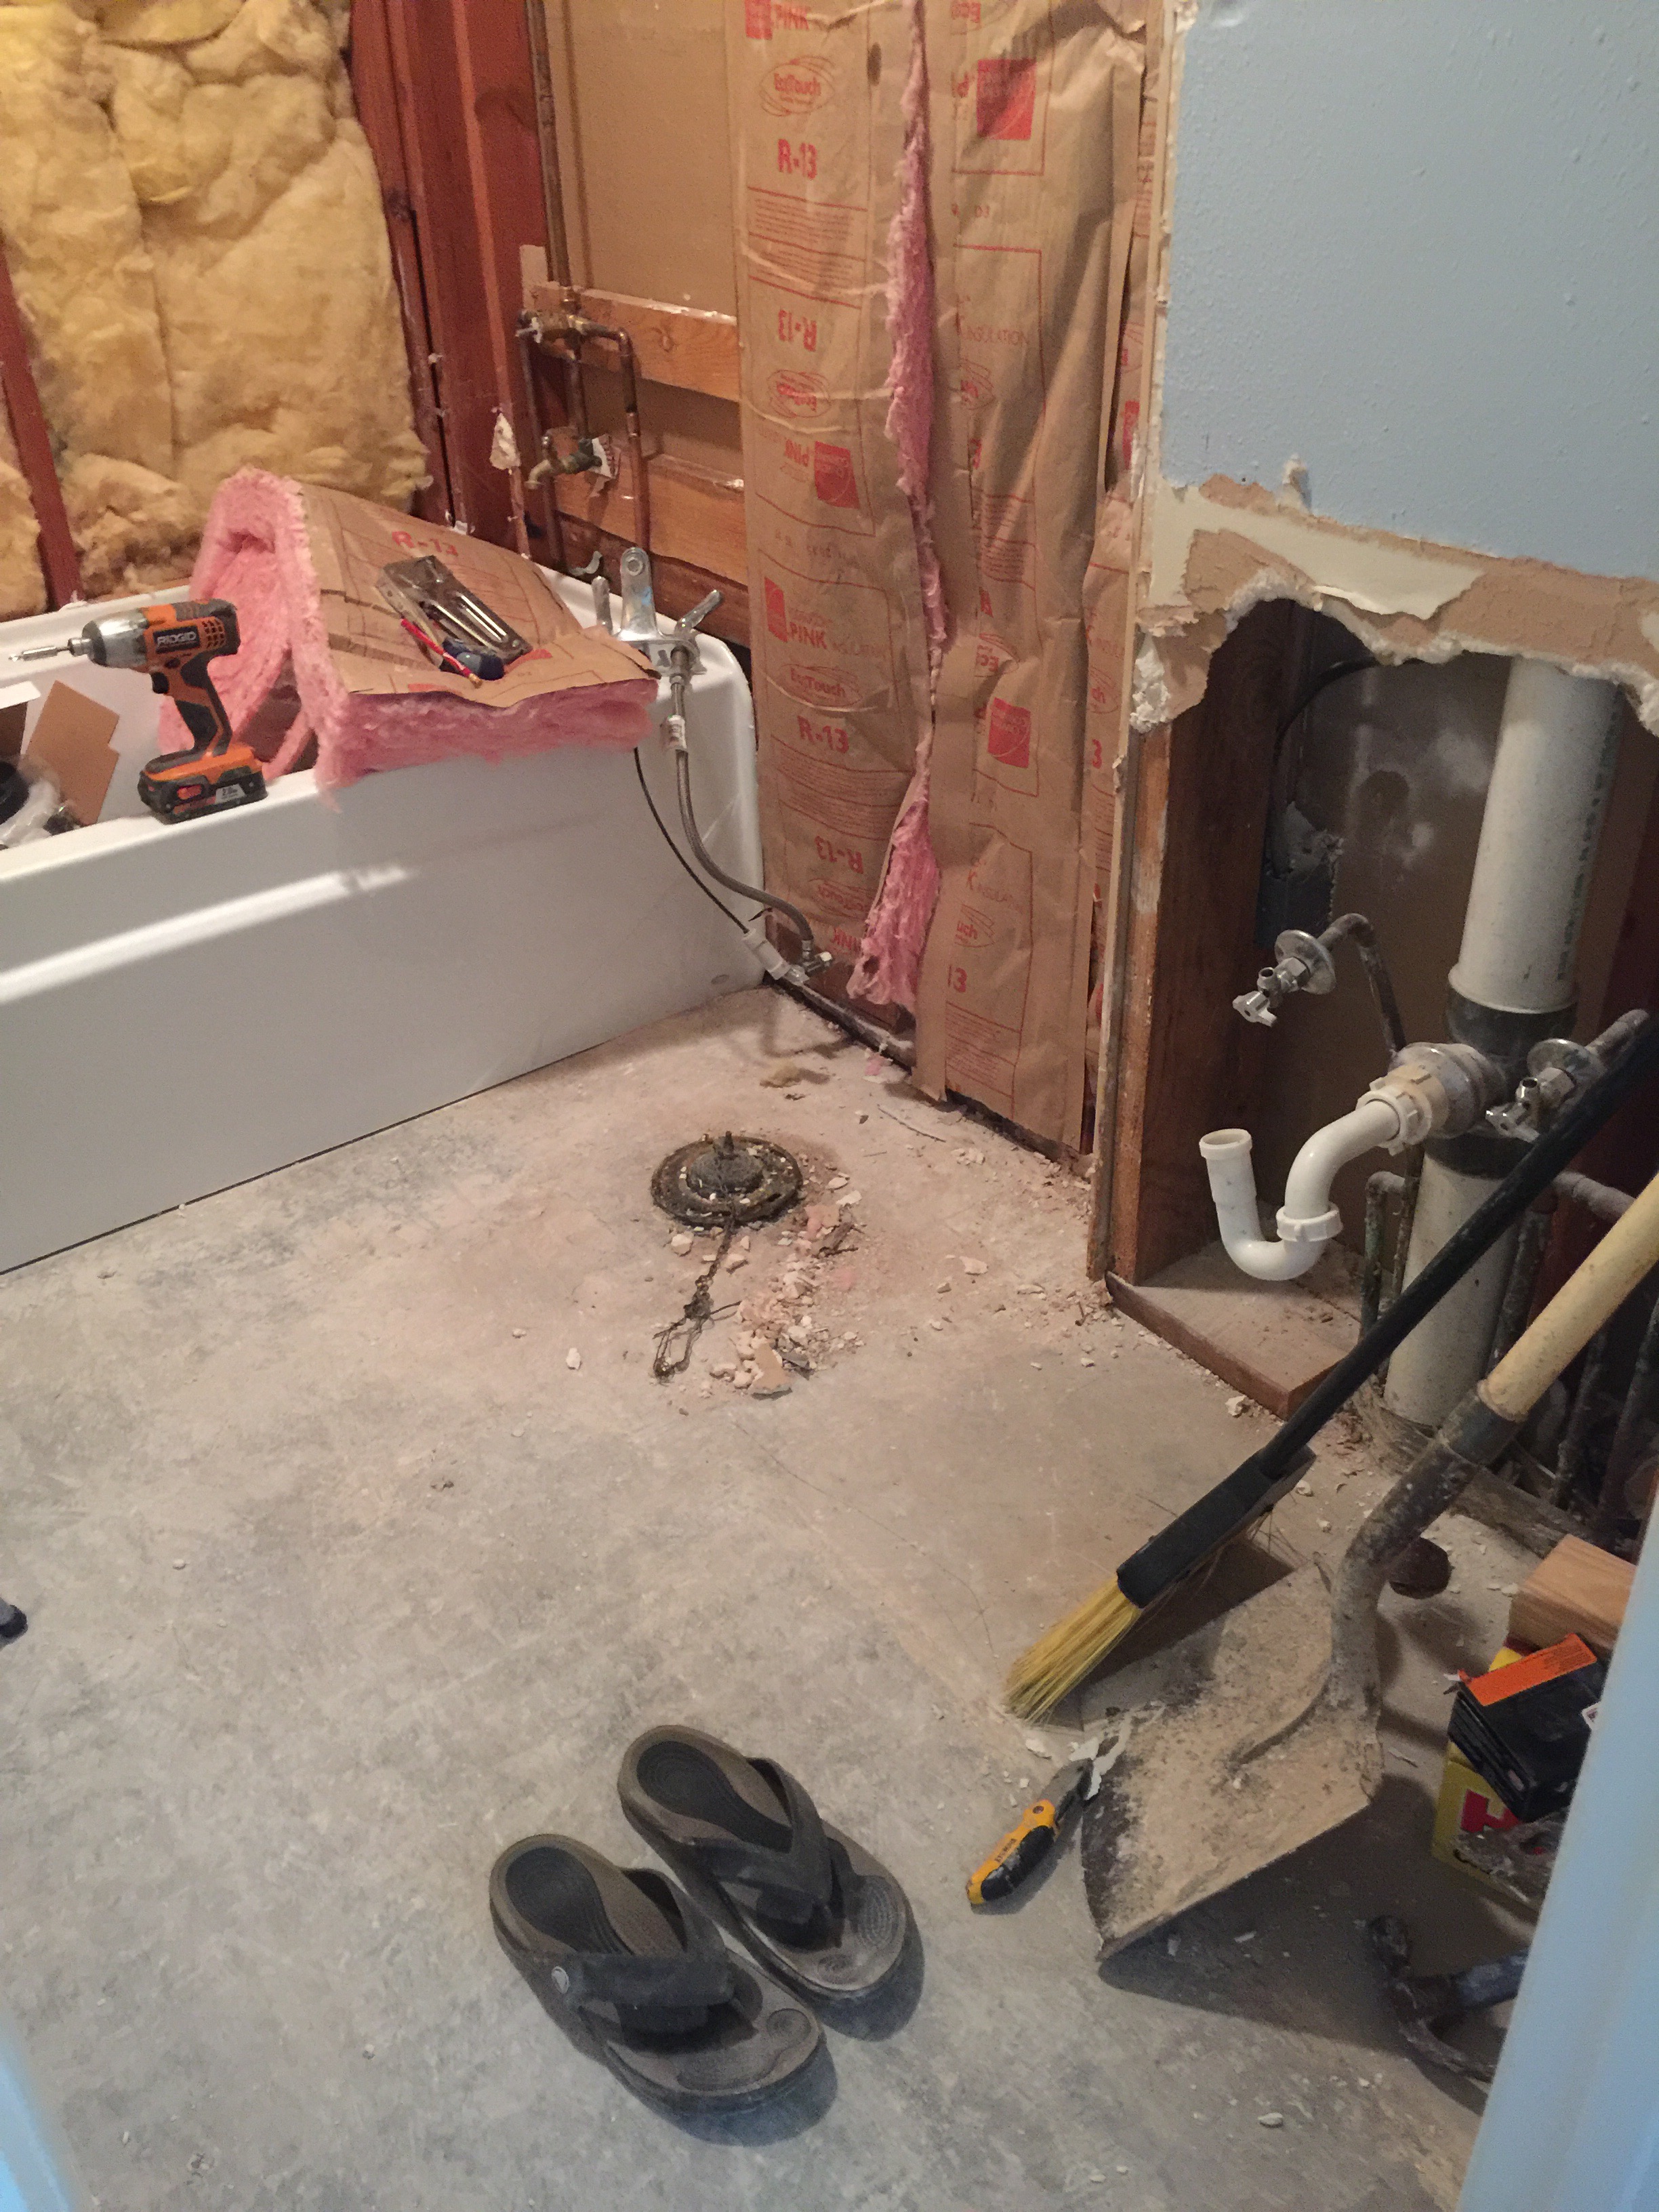
Here are some demolition photos:


And the finished product!
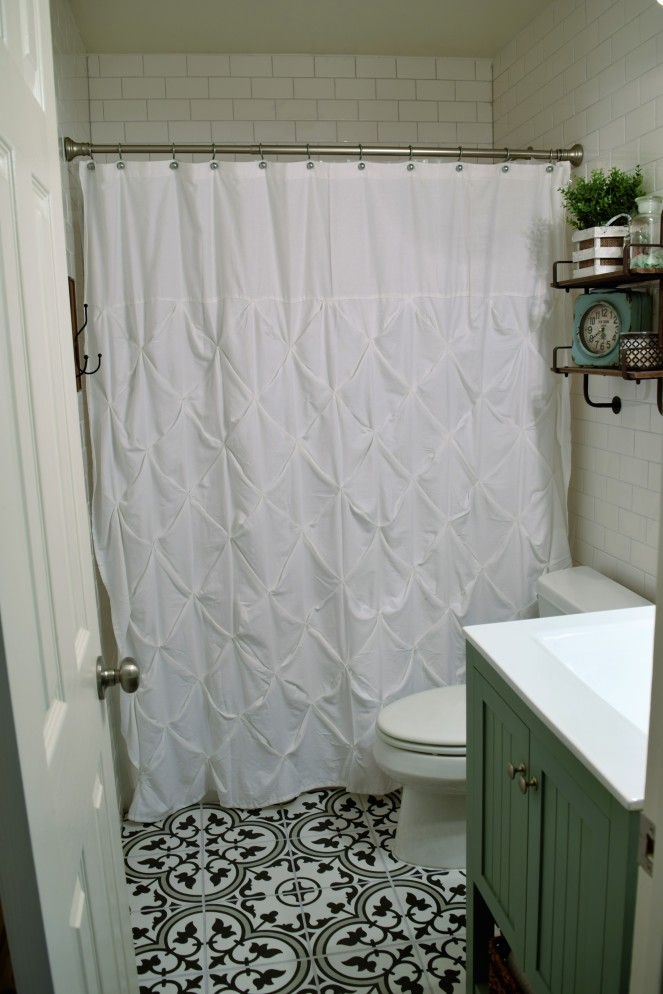
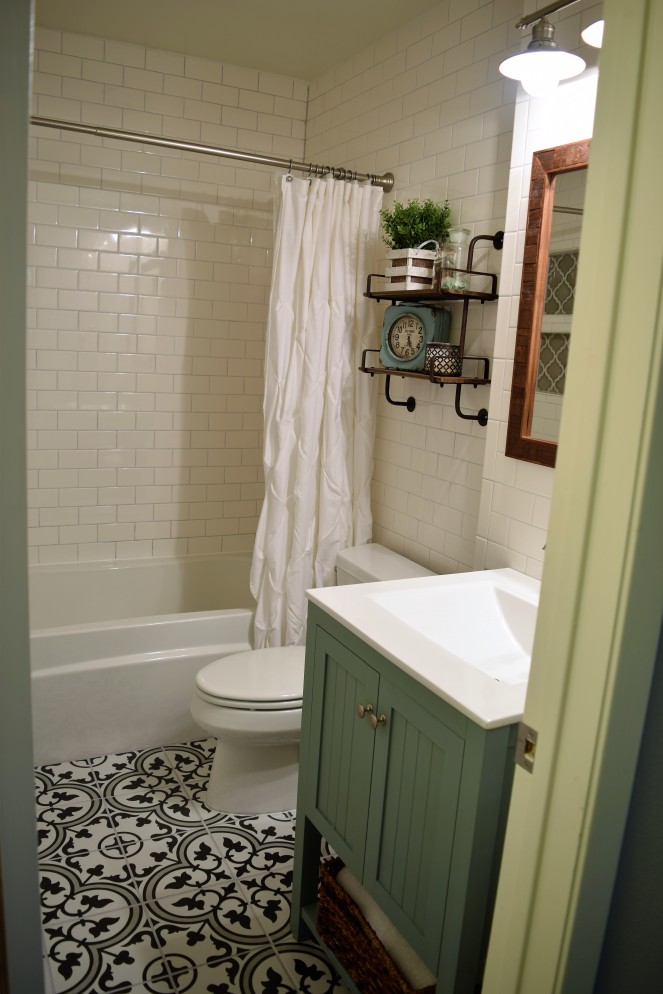
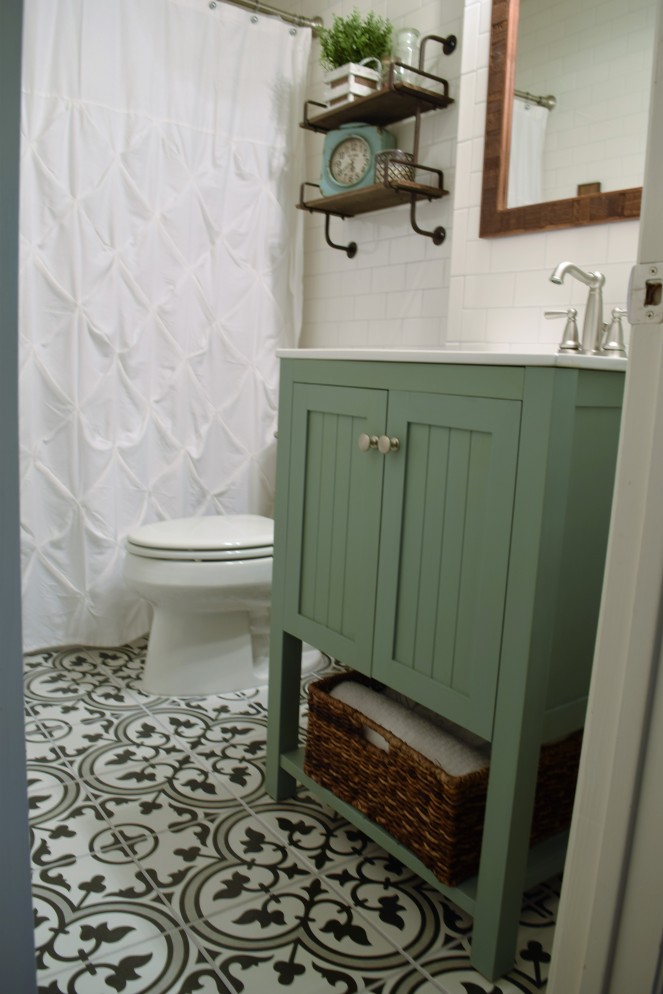
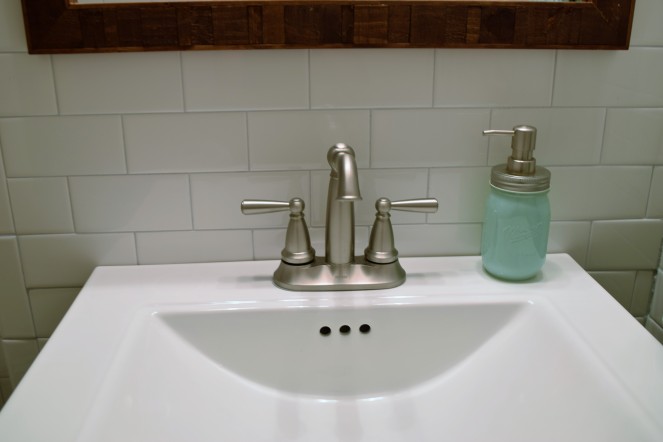


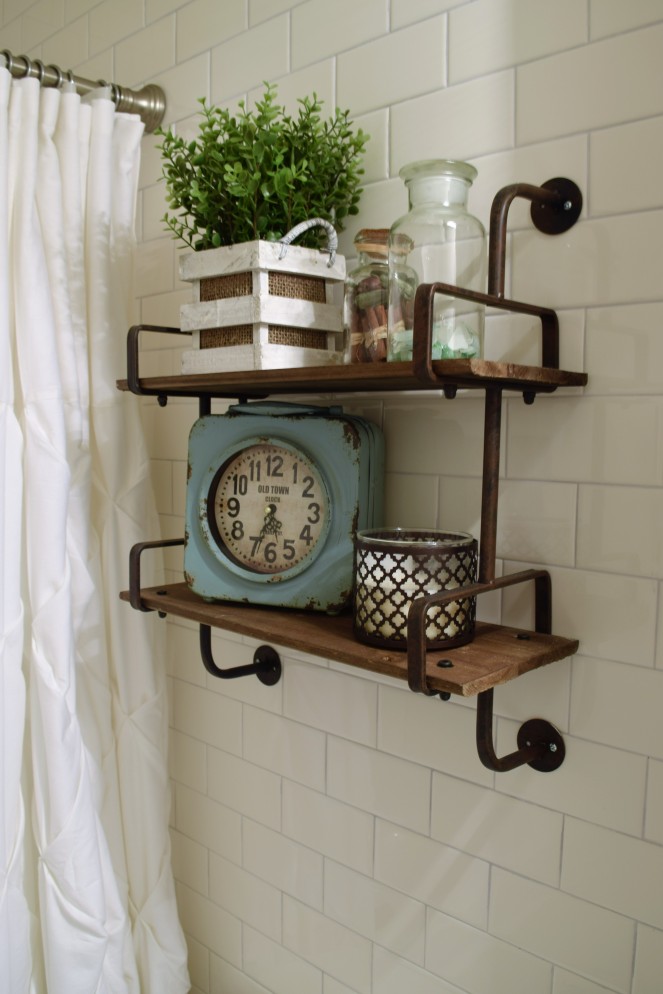
Since this wasn’t part of the whirlwind of renovations that we did when we first purchased this house, we really had some time to think about what we wanted in this bathroom. Even though this is a small bathroom, we knew we wanted a pretty deep bathtub as we plan to only have a shower in the master bathroom. I love taking HOT (like really hot) baths during the winter months, so this was a must for me. When we originally went tub shopping, we had trouble finding a deep bathtub that wasn’t super wide. Low and behold, Home Depot began carrying an inexpensive bathtub that was exactly what we needed – deep and skinny! After hours upon hours of vanity shopping, purchasing and returning, we ended up purchasing this cute little vanity from Home Depot. Like I do with most things, I painted this once gray vanity Duck Egg Blue to add a little color to the room. As for the tile, we too got this from Home Depot. It’s a special order tile that pretty much stays in ‘currently out of stock’ status, but we were lucky enough to order it while they still had some. It is so popular because it has the look of expensive encaustic cement tile at a third of the cost. I know it’s a little out there, but I wanted to have a little fun in this bathroom since we played it safe with the rest of the house remodel. Trent went all out by tiling the walls with classic white subway tile and adding a custom built wall niche with accent tile. Small it may be, but that niche added at least an extra 8 hours to the bathroom job. Unfortunately, I don’t think he will be adding a niche to our shower😐. As for the décor, we chose to accent the walls with rustic hooks, a wooden mirror and an industrial shelf above the toilet.
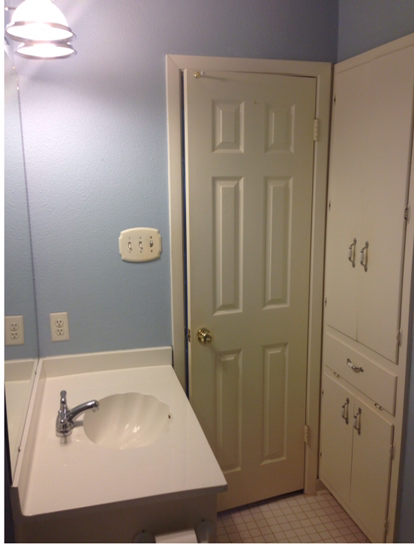
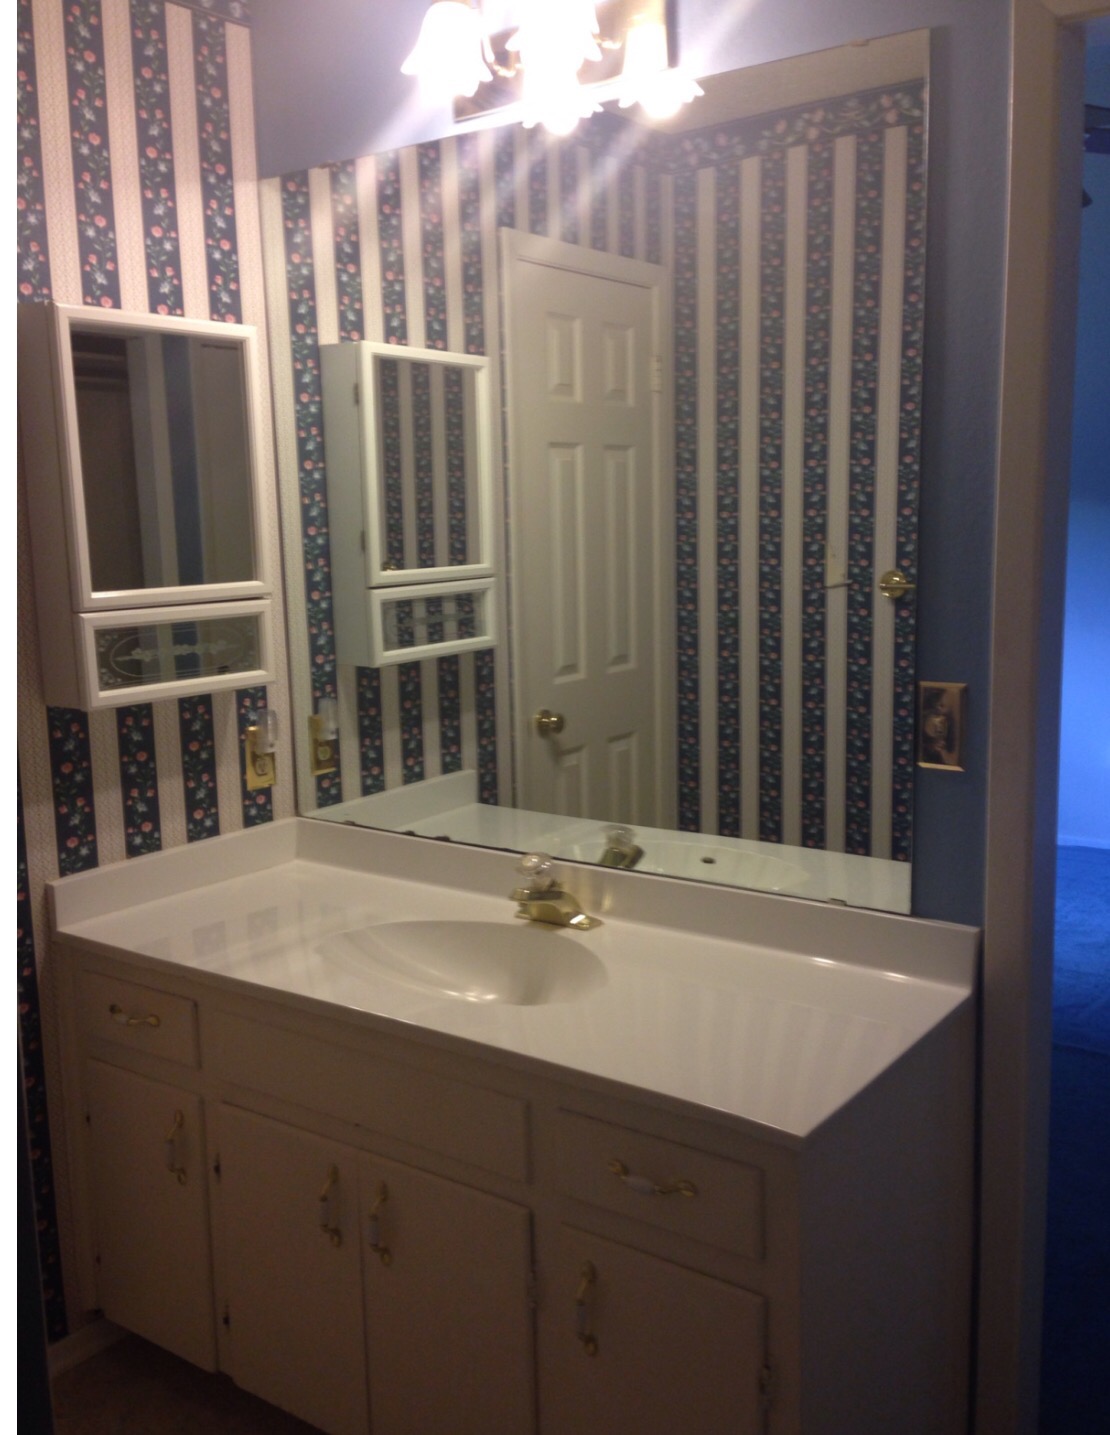
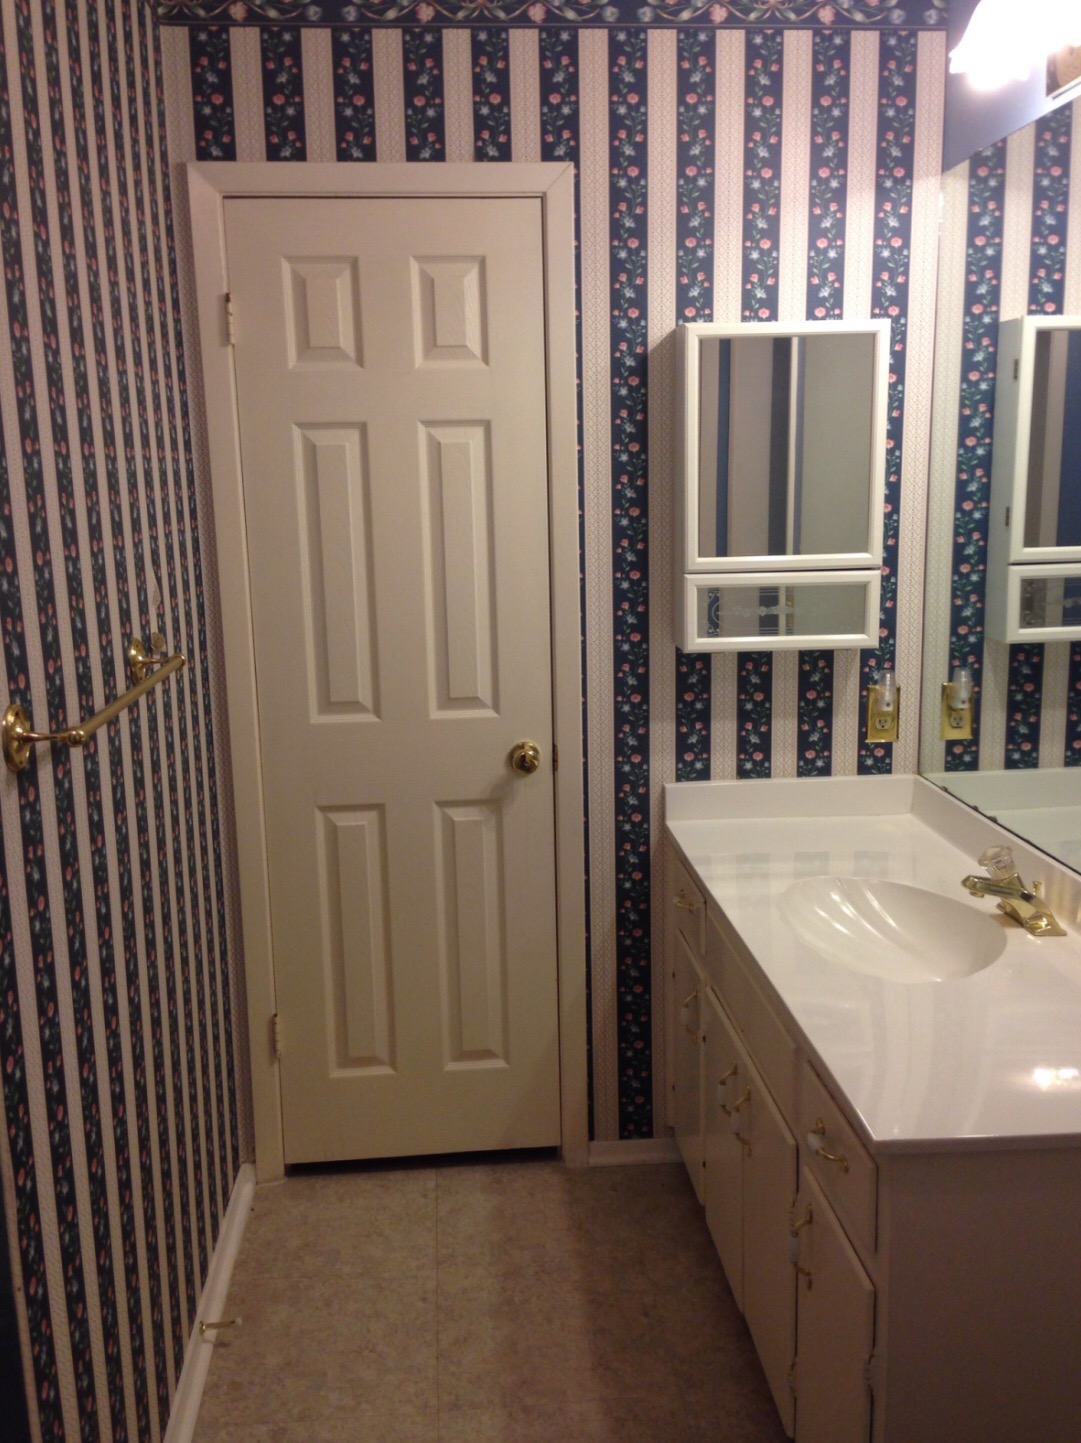
After Trent recovered from living in the girl’s bathroom for 2 weeks, he completed the remodel of our vanity area. One of the strangest things about our house is that you walk through the master vanity/bathroom before you enter the bedroom. No matter how pretty I made our bedroom, it always looked ugly because you saw the outdated vanity area first.
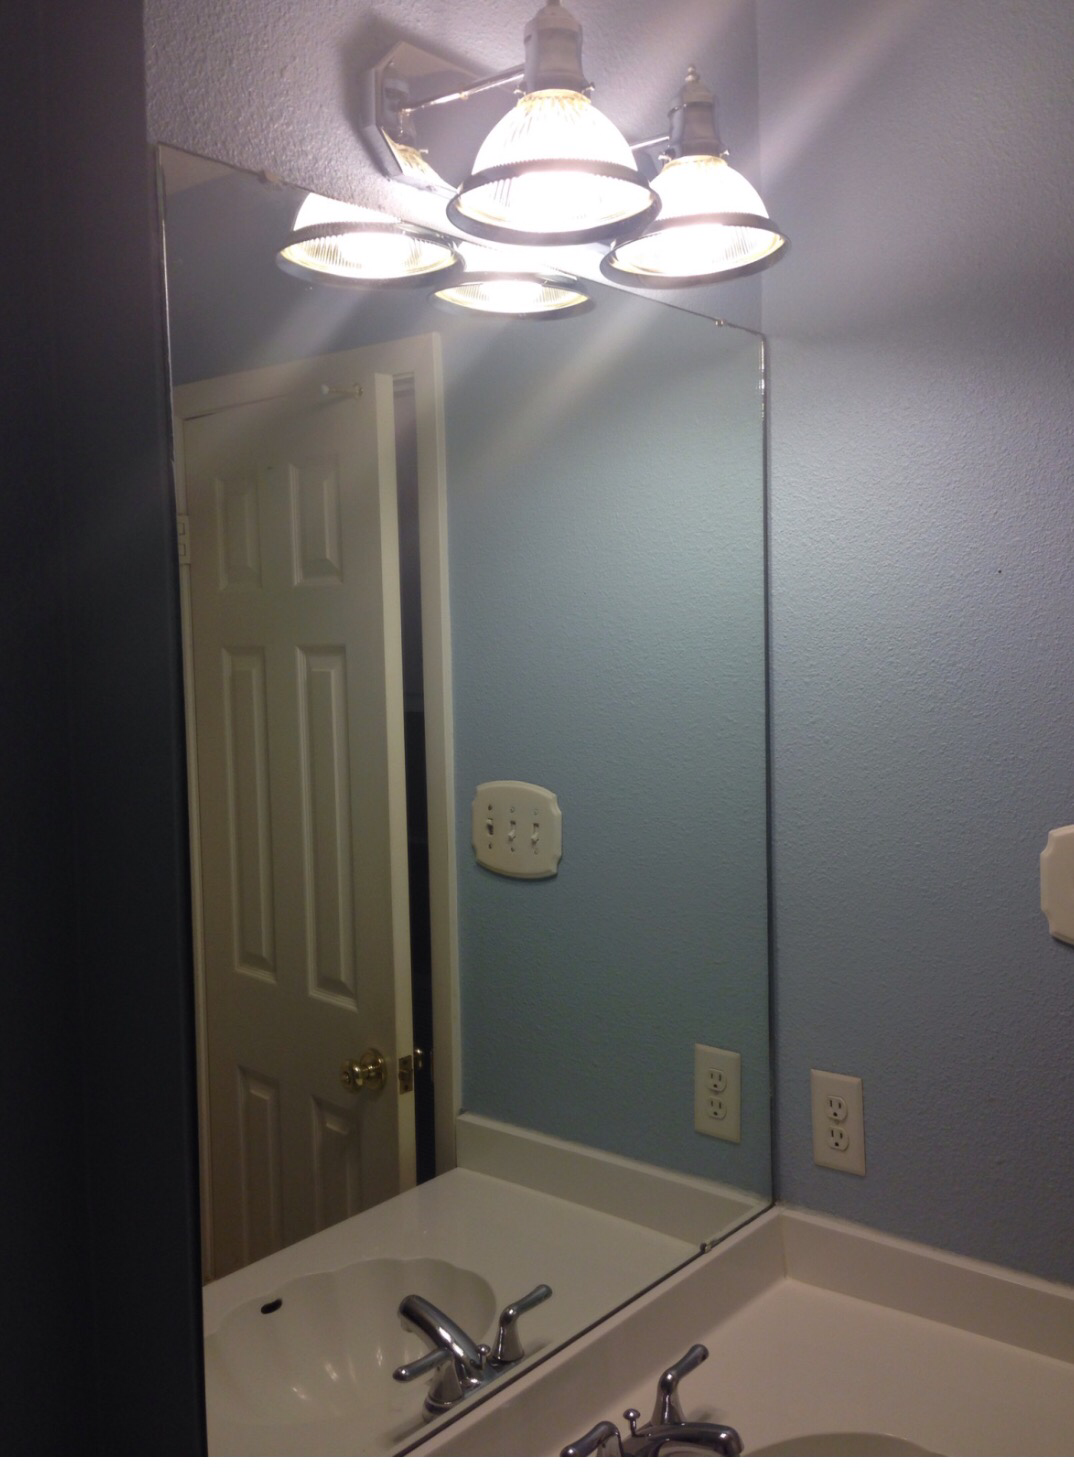
Here are some pictures of the vanity area when we purchased the home:

And after!

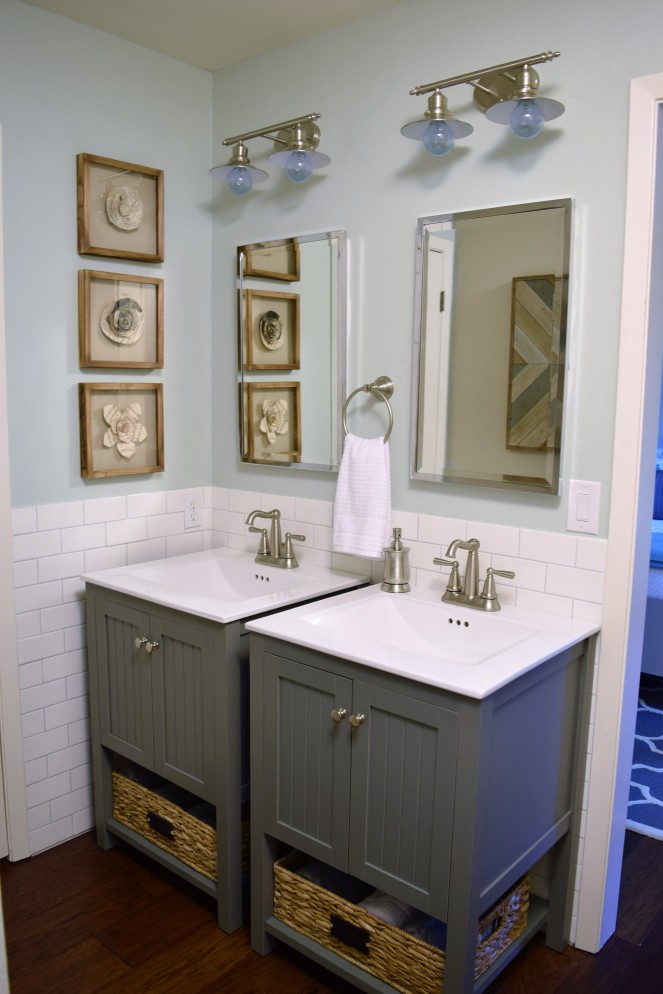
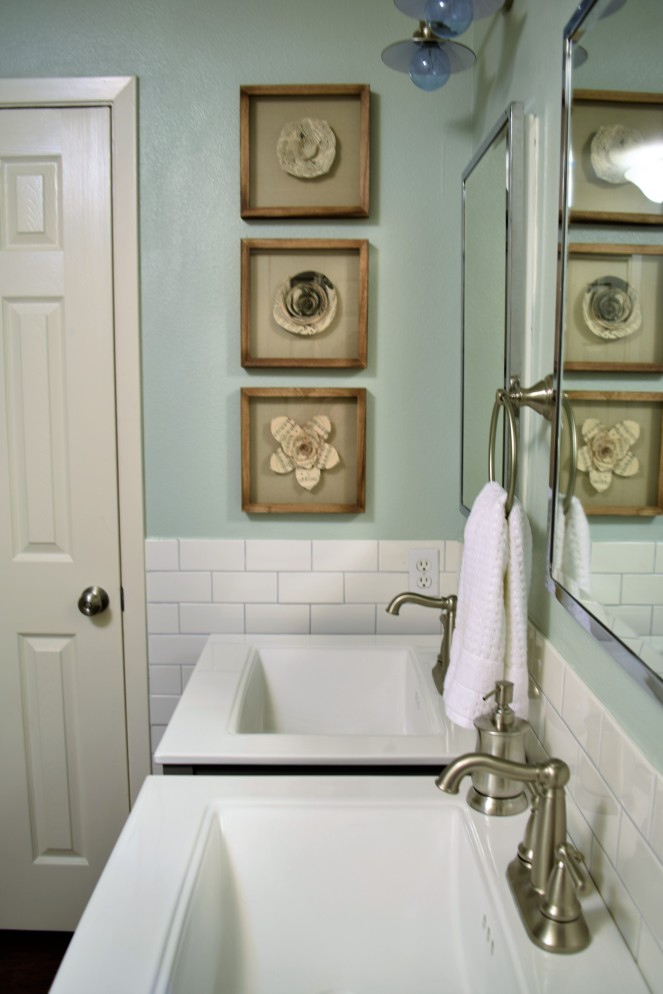
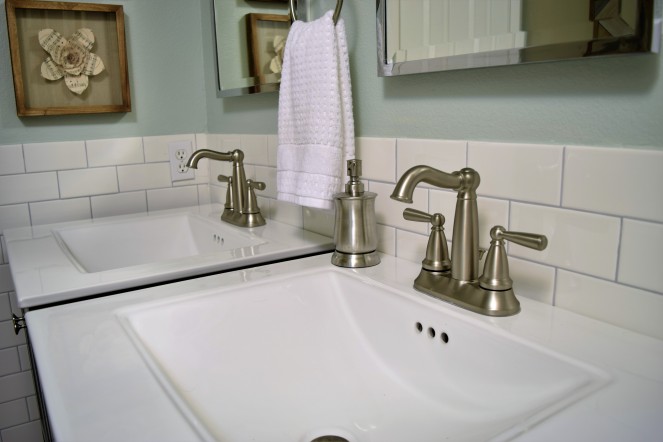
We went back and forth on the vanity situation in this room forever. The dilemma was that we had to decide if we wanted two sinks OR ample counter top space. Since we couldn’t have both, we opted for two sinks. We solved the counter top storage issue by installing recessed medicine cabinets that hold quite a bit. My theory is, the more countertop space, the more crap you are going to leave out on it. Since I like a tidy house, this has solved that problem. There is always a silver lining 😉. These vanities are the same as the one in the guest bathroom, just in their original color. We used the same brushed nickel industrial light fixtures and faucets as we did in the guest bathroom. I carried over the rustic decor theme to this bathroom, but with lighter wood tones to brighten up the dark floors and vanities.
We plan to remodel the actual master bathroom in the fall so that we can enjoy our pool and outdoor living this summer!


Beautiful!!!!! I really love the wall tile. Your design skills are on point girl 🙂
LikeLike
Thanks, Victoria! My husband is happy with the wall tile now, but wasn’t while he was laying it all 😜.
LikeLike
I am in love with the tile & vanity color in your guest bath, both bathrooms look awesome. Great work!
LikeLike
Thank you, Rebecca! Thanks for the positive feedback! People are going to either love or hate that tile, so glad you are a lover 😉.
LikeLiked by 1 person
Reblogged this on I.S. Enterprise Construction.
LikeLike
Could you share where you got the shelf above your toilet?! It is absolutely beautiful and I think I need it in my life!!!
Awesome job on your bathroom
LikeLike
Heather, they both look awesome! Way to go girl great choices.
LikeLike
Thanks, Andrea! Hope you are doing great!
LikeLike
Where did you get the sheer looking throw on the sofa and love the floors. What color and brand tks so much.
LikeLike
I got the throw from Hobby Lobby about a year ago. The floors are Hickory wood – I don’t recall the brand or stain – sorry! Thanks for visiting my page and happy decorating!
LikeLike
I too just ordered the Merola Arte tile (gray) for my master bath and searched Pinterest for others out there when I found your blog and pics; thank you so much for sharing! Which grout color did you select, and would you do the same color again?
You and your husband have done a fabulous job remodeling and designing. Best of luck for continued success!
LikeLike
Hi Christine! Thank you for the kind words about our remodel! It’s been TONS of work, but we are loving our space!
As for the grout, we used platinum. If I could go back and do it again I would choose a shade darker. The color I would have gone with is called Dolorian Gray. Let me know if you have other questions!
Happy remodeling 😊
LikeLike
Do you remember the brand of the vanity?
LikeLike
I think that the brand is Home Decorator’s Collection. Unfortunately, I don’t think they carry this style in store anymore.
LikeLike